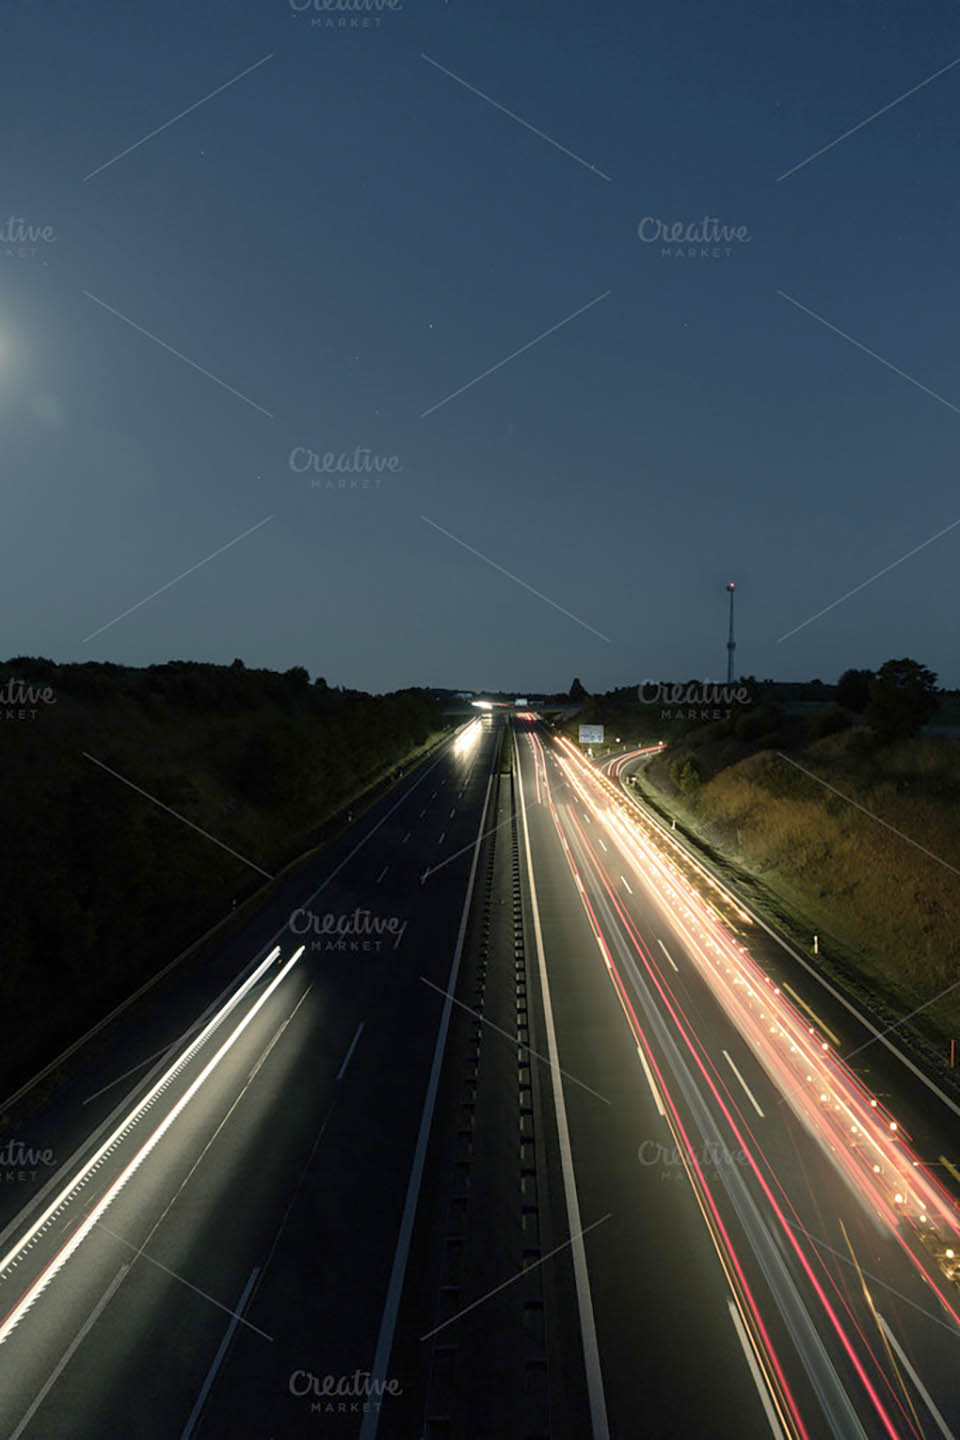
Too many weekend photographers put the camera away at sunset. For many, there is no auto mode called “after dark”, so they imagine that their camera was not designed to be used after hours! When in actual fact, you can use your camera 24 hours a day. The time of the exposure is purely up to the photographer.
Remember the basics – exposure is calculated by shutter speed and aperture. The bigger the aperture, the more light it lets into the camera, and the longer the shutter remains open, the more light falls on the light sensitive receptor in the camera.
That goes for all types of camera, film, digital or even smart-phone. The great thing about this is you will always get an image, and with your digital cameras you will see straight away whether enough light is getting in to give you a good image or not. Now is the time to make sure the camera is set on ‘manual’ so you have total control.
Still working on the basics, if when you review the image at the slowest shutter speed you can hand hold (probably 1/15th of a second), it is still too dark then you have a choice of three ways to get the night image.
The first is to mount the camera on a tripod, so that camera shake is not a problem. With the camera mounted solidly on the tripod (you will need a good quality heavy tripod, forget the lightweight aluminium ones) and a cable release for the shutter.
Even if you haven’t got a cable release, all is not lost. Open the shutter (generally indicated as the “B” setting) and place a black card in front of the lens. Remove the card and count however many seconds you want and place the card back again to stop the exposure.
The second way is to change the ISO (ASA) rating which generally goes from ISO 25 through to ISO 32000. That is a measure of the sensitivity of the light receptor. The lower the number the less sensitive (but more detailed) final image. The higher you go, the more the blurring of the edges occurs, called “noise”. So for the sharpest detail don’t go much above ISO 400.
The third way is to use a flash, either an on-camera flash or a secondary flash connected by cable to the camera. This is the least suitable method of lighting for night photography, as there is too much light in the foreground which then falls off dramatically.
The other variable under your control is the aperture, the hole in the lens that lets the light through it. This works a little opposite to what you might think. The largest diameter (usually around f4), which lets most light through does not give the sharpest image. To get sharpness you have to look at using the smallest diameters and figures such as f22 are usual.
Now to recap, for your night photographs you have control over shutter speed and aperture and all you have to do is put them together.
Start by deciding whether you want good depth of field or otherwise. Select f22 for good sharp depth of field and f4 for close up sharpness, falling off dramatically from mid-field to distance. Most night shots work best with good depth of field.
Now the shutter speed. If you can get a reasonable image at around one minute, experiment from there, taking one shot and reviewing it. Do not take that image with those number again, but alter shutter speed and aperture, one factor at a time, moving all the time towards an image that pleases you. This is where a notebook is invaluable, so you can jot down the important numbers.
I almost forgot – the other piece of equipment necessary is a torch! Happy snapping.
 |
 |
 |


