In the days when we used to come home with slides after a holiday, there would be a ‘slide night’ for friends and relatives to be bored out of their minds with shots of, “Here we are at the hotel in Nakon Nowhere, and similar.” You’ve all been there.
However, with today’s digitals, you have the ability to review your photographs instantly, so you have every good reason to come back with better holiday snaps – and here’s how!
What we have to strive for are photos with ‘impact’. Ones that punch the viewer fair between the eyes and compel him or her to look further. To get this elusive ‘impact’ we need to look at simplicity, color, light and depth. Now while that may sound a little too advanced for someone with a point and shooter, it is not really.
Let’s take Simplicity first. In your photo there should be an identifiable “hero” – that is the subject matter. You have to frame up your shot so that you get rid of extraneous matter which detracts from the simplicity and also detracts from the subject, thus weakening your message. One tip is to use a wide angle lens and walk in close to heighten the dramatic viewpoint of your subject.
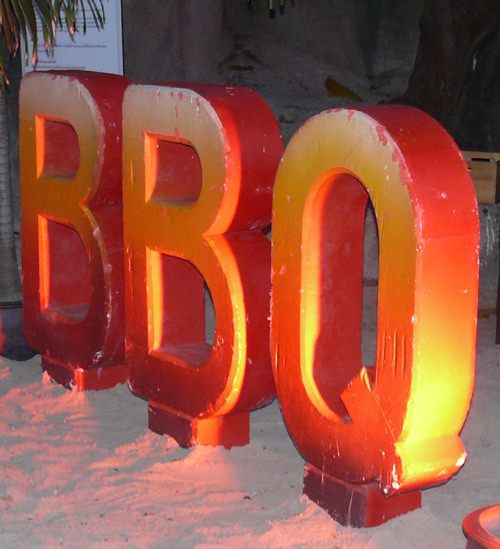
Color is next. Unless you are a Black and White exponent, color is one very easy way to get ‘impact’ into your shots. Look for very strong colors and include them in the photos. The three primary colors are red, blue and yellow and if you look through a travel photography book, you will find lots of reds, blues and yellows. You should also intensify the colors by screwing a Polarizing Filter on the end of your lens. This richens the color by decreasing the amount of reflection and will give you that deep blue sky you want in your holiday photographs.
When we mention ‘Light’ we are referring to the stuff supplied by the celestial light technician – the sun! The two best times to shoot are early in the morning or late in the afternoon. These are sometimes called the “magic hours” by some photographers, but they certainly are the times to shoot. You will get good shadow definition to give solidity to the scene and the two very different colors in the light also give your travel photos that extra something. The early morning ones will have a blue cast, while the late afternoon has distinctly orange hues. In fact, this weekend take the same shot at both those times and see the difference. For those who would like a technical explanation, as the sun approaches the horizon, its light has to pass through a greater air mass, including ozone, dust and water vapor. Wavelengths at the blue end of the spectrum are scattered and absorbed more than those at the red end of the spectrum, so the sunlight appears to turn yellow, and then red.
Now let’s see how we can add Depth into your photographs. By “depth” we are trying to give your flat photos a 3D appearance. The first way is to use shadow to give depth. The second way is to include people in the shots to give a sense of perspective. This is the only way you can show just how large any statue is – compare it to the height of a person. Another old photographic “trick” is to include “leading lines” such as a wall, fence or pathway to pull the viewer into the shot. These lines also work best when they follow a diagonal, rather than a straight horizontal or vertical.
The final two items of advice are quite simple – time and people. Take your time when you have arrived at the travel destination and walk around statues, memorials, temples and the like. You may see a better view than the usual front on variety. Search for interesting foregrounds and vary the framing and composition. And try as much as possible to include people in your travel shots. Adding one or two people in a photograph adds a point of connection for the viewer, a sense of being there.
Have a happy holiday!
 |
 |
 |


