Do you have a professional-looking DSLR? If you have, then be warned – you will be asked to photograph a friend’s wedding this Easter (because the wedding studios are expensive). If you can, find a dying relative that you have to visit that weekend. However, if you like flying in the face of danger, keep reading.
One very experienced wedding photographer even went so far as to call the craft, “Hours of controlled patience, punctuated by moments of sheer terror and intense bursts of creativity.” However, to make it less of a terror, here are some guides to photographing someone else’s ‘big day’. And it is because it is someone’s big day that it becomes so important to get it right. Wedding photographers talk about the three P’s – preparation, photography and presentation. My idea of wedding photography and the three P’s are pain, persecution and panic.
However, looking at the accepted “preparation”. This is very important and will make your job so much easier. This would include going to the church, temple, registry office or whatever before the great day to see just what you can use as backgrounds, and where you can position the happy couple, and their parents, and their bridesmaids, and their friends, and the neighborhood dogs and everything else that seems to be in wedding photographs. Just by doing this, you at least will know ‘where’ you can take some photographs.
Preparation also covers talking to the couple and finding out just what they expect to be taken. As pointed out at the beginning, when you take on photographing a wedding, you are taking on a huge responsibility.
Also part of the preparation is to make sure your cameras are functioning properly, so test them before the big day. Note too, that I said ‘cameras’ because there is nothing more soul destroying than having a camera fail during an event such as this. Preferably, the second camera will be the same as the first, so that your lenses will be interchangeable. Yes, lenses! You will need a wide angle (say 28 mm), a standard 50 mm and a short telephoto (say 135 mm). The wide angle is needed for the group shots and the standard for couples and the tele for “head hunting”, looking for those great candid shots.
Now comes the actual “Photography” itself. You have already written down all the shots that the couple want, make a list so you can cross them off as you go. One series of shots should be taken at the bride’s residence, and this includes the bridesmaids. Many of these will be indoor shots, so do take your flash and bounce the light off the ceiling to soften the effect of the flash burst. Make sure you have new batteries, and a spare memory card!
Now you have to scoot to the church or wherever the actual ceremony will be, so you can get the bride outside, ready to walk down the aisle with her father, or whomever is giving the bride away.
With those shots out of the way, now you can go and get the ceremony and I do not recommend that you use the flash for these photographs. For some religions, this is a solemn time and flash bursts are very intrusive.
Cross off the rest of the shots as you cover them – the signing of the register, emerging arm in arm, confetti or rice and then the formal shots of the wedding groups.
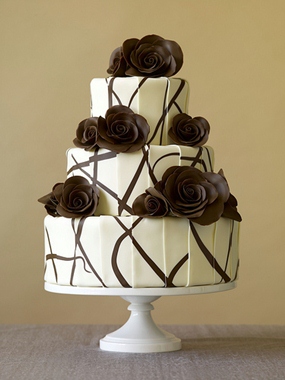
After all this, everyone is dying for a beer and head for the reception. However, you must wait a little while yet. There is the ceremony of cutting the cake to be done yet, and photographs of the guests enjoying themselves (other than you).
Having crossed every shot off the list, make for the drinks department. You’ve earned it. After all, you have probably taken around 200 shots by now!
The final ‘P’ is presentation. Photograph albums are inexpensive, so put the best shots from each series into a couple of albums and present them to the couple as your gift. And as your final job, make the mental resolve to never photograph another wedding as long as you live!


