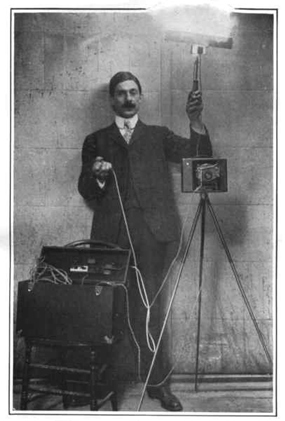
From the early days of photography, flash has been used. The early flash guns used a mixture of magnesium powder and potassium chlorate that was ignited by hand. Later, magnesium filaments were contained in flash bulbs filled with oxygen gas, and electrically ignited by a contact in the camera shutter, but such a bulb could only be used once, and was too hot to handle immediately after use, but the confinement of what would otherwise have amounted to a small explosion was an important advance.
Almost every camera these days comes with its own built-in flash. Such technical items as ‘guide numbers’ don’t seem to matter any more. The camera does it all for you. But there is always a downside to just letting the camera do all the work. And that is you get what the camera thinks you want – not what you might want.
Take the example where you are shooting indoors at night (always a good time to use extra lighting), but you still want some of the background to show up. Shooting people in a pub is a good example. You want more than just ‘heads’; you want to show just what the pub looked like.
To do this is tricky, but there are several ways. You can use more than one flash (sometimes called ‘slaves’) and they fire when they detect the flash burst from the primary flash, or you can even link them all up with flash cables triggered by the shutter on the camera. You set the slaves to light up the background, while the main flash illuminates the subject. That’s Option One.
Option Two is to use a tripod and the time exposure setting to record the background and then pop the main flash to record the subject in the foreground. Difficult, but possible.
Option Three is the simplest. Set the camera’s aperture to around f5.6 and the shutter speed to 1/15th of a second. You can even hand-hold at this slow shutter speed, as long as you lean on something. The slow shutter and wide open aperture gives enough light to get the background to show up on film, and the flash burst is enough to record the subject. Try it. Works!
You have to take the camera out of Auto mode and into manual. In fact, if you want to try something, go down to the pub and shoot the likely lads at 1/8th, 1/15th and a 1/30th and see the differences you will get. The subject will be OK in each, as the lighting for the foreground depends only on the flash power, while the background depends on the ambient light, and the longer the shutter is held open, the more background details you will get.
Another trick you can do with any camera that has a flash, be that built in or bolted to the top of it, is to throw colour at your subject. The important item of equipment is coloured cellophane paper (called ‘gels’ in the industry). Put a blue gel over the flash head and you will get a very ‘cold’ photograph, especially if you are taking pictures of people. Conversely, put an orange gel over the flash and you will get a wonderfully warm person in the foreground.
To go further, take the flash off the camera, shoot the subject side lit with a coloured gel over the flash. Experiment with blue, red, green, orange, yellow – we are not looking to reproduce reality here, we (that’s you) are trying to produce an artistic effect.
Most keen amateur photographers will have heard of the term “Fill-in Flash”. This refers to a reduced output flash burst, used to lighten shadows in harsh daylight, or to illuminate the front of a back-lit subject.
Reduce the output of the flash so it will gently lighten the shadows and not “blow out” the subject details like a searchlight. The trick is to either diffuse the flash with tracing paper and do not adjust the camera settings, or reduce the flash power setting by two aperture stops below that indicated by the camera. In other words, set the camera on f11 and the flash on f5.6.


