After using many different cameras over far too many years, I have become a little blasé about instruction manuals. After all, the technical side of photography involves manipulating shutter speed, aperture of the lens and focusing. It really should not need much more than a few pages to cover that.
However, with the digital evolution and the advent of LCD’s and drop down menus and other electronic trickery, it has become necessary to once more study the instruction manuals (and I have to admit I have not read my new one from cover to cover)!
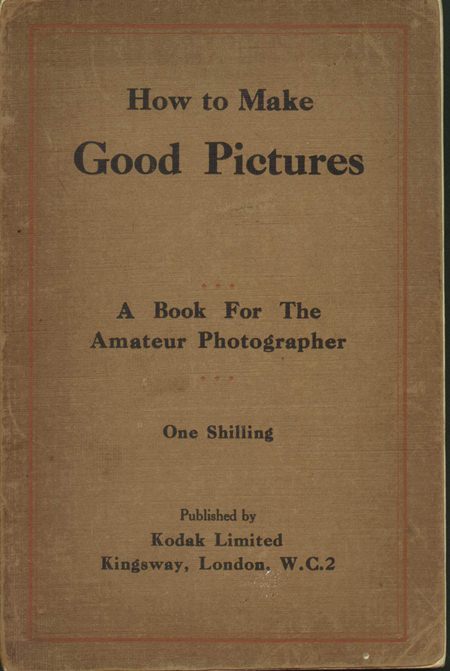
But instruction manuals are not new. A few years back now, I was given a book by Jan Olav Aamlid called How to make good pictures – a book for the amateur photographer. Published by Kodak Limited in London, the book had 170 glossy pages and the price was one shilling!
Unfortunately, there was no date in the book, but looking at the photographs printed in it, I would put the date at around 1920.
Things have changed photographically too. Before the world developed that wonderful little pop-up flash on your compact camera, that “knows” it has to come up when the light levels are low, Kodak were offering the Amateur Flashlight Outfit for those who would brave the dark. I quote from our one shilling book, “The procedure is simple. The powder is crushed and mixed as indicated, then the taper is fixed in position at one end of the tray. When ready to make the exposure, the taper is lit and the lamp slowly tilted until the powder falls on the flame.” The book goes on a couple of pages later, “When more than one flashlight picture is to be taken, the windows should be opened between each flash to free the room thoroughly from smoke, otherwise all the pictures after the first few are liable to have a slightly ‘foggy’ appearance.”
Further advice to the amateur with his flash powder and taper include, “If the room is darkened the sudden flash of light so strains the eyes of the sitters that it almost invariably gives them a staring look, but if the room is already illuminated by gas or electricity, the strain is not so great and the eyes will have a natural expression.” I would imagine that sitting in a closed room with some lunatic with crushed flash powder and a lit taper would make anyone stare a little! Yes, we certainly get it easy these days.
There is one complete chapter on photographing interiors, with exposure times quoted around the 10 minute mark. They do caution, “If time exposures are made with the camera held in the hands, the pictures will be blurred.” The mind boggles at a hand-held 10 minute time exposure!
However, it does have some very pertinent facts. With portrait photography, the book suggests, “As an example, take a young man with too prominent ears; it is obvious in this case that the full face would be displeasing, so turn the face slowly away from the light until the ear nearest the light disappears from the line of sight.” The book also says that if this still does not fix the problem, get the young man to rest his head on his hand and hide the appendages that way!
For me, the best part of the book was in the first few chapters where the basic principles of photography were explained in detail, even showing the differences between different manufacture of lenses. Exposure control is well documented, and the amateur photographer who followed this book through to the end would have no longer been a true “amateur”.
In those halcyon days, the budding photographer was also his own darkroom assistant and much of the book is devoted to D&P (Developing and Printing) and how to avoid the traps and pitfalls. For those of you who have dabbled (or rather dipped and dunked) you will agree that it does give another dimension to picture taking, one that has all but disappeared these days with the advent of the digital camera.
 |
 |
 |


