Last week I mentioned that I came across a case full of filters which I had presumed lost. The treasure trove included Neutral Density filters (ND1-4), red and green filters for Black and White work, Graduated sepia, “speed” filters, multiple image filters, cross stars, tobacco filters, 81B ‘warming’ filters and blue cooling filters. Even a cable release for time exposures and more.
Now, the trick in using these filters is enshrined in the application of WYSIWYG – What You See Is What You Get. When you look at a filter, generally it just looks like a round chunk of glass you screw onto the end of the lens, but it is only when you look through the camera that you can see the end results. Even changing the f stop can change the final image, but it is necessary to WYSIWYG.
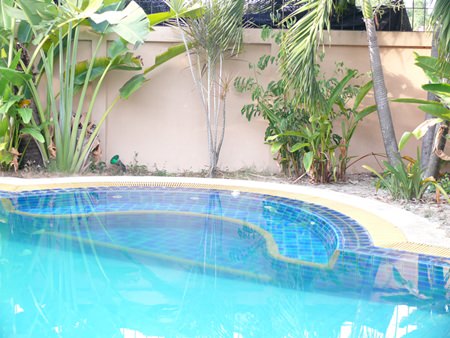
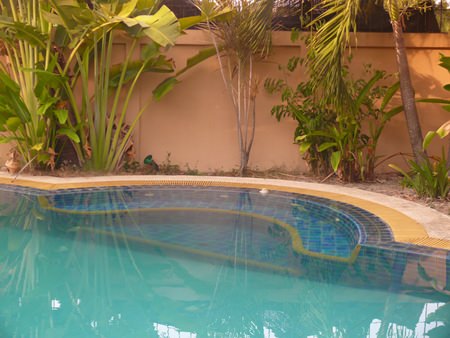 Same photo using different filters.
We all tend to ‘imagine’ what is in front of us, rather than ‘seeing’ what is really there. Look at drawings of houses done by young children. Inevitably, there will be more than two walls. Children ‘know’ that houses have more than two walls, so draw houses accordingly. However, when you look at any house, from any angle, you can only see a maximum of two walls at one time. Small children do not use WYSIWYG.
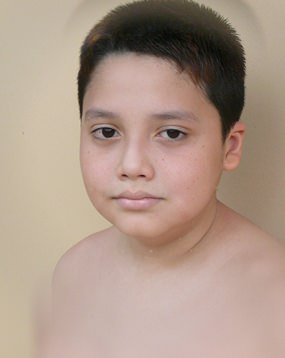 Center spot portrait.
Now we’ve all taken dud photographs. What was wrong with those photos? Were there trees growing out of people’s heads, giving them strange reindeer ‘antlers’? Did some have such harsh shadows across the person’s face that you could not see the eyes, and in fact, the face looked grotesque? Did some have the person so small in the picture that you cannot tell who they are? So what do we have to do to fix the problems?
The answer is very simply WYSIWYG, but you have to train yourself to ‘really’ see. We all know what we want to see in this once in a lifetime photo, but ignore the fact that what we are seeing in the viewfinder is not actually what we want. It’s the child and the house with three sides again.
You have to train yourself to look critically at what is in the viewfinder before going ‘click’. This is actually harder than it seems. You have to scan the small viewfinder to see if there are trees growing out of people’s heads. You have to squint at the faces and see if shadows are ugly. You have to be prepared to put the camera down and recompose the shot before clicking that shutter, remembering at all times that what the camera ‘sees’ is not necessarily what you are seeing with the naked eye.
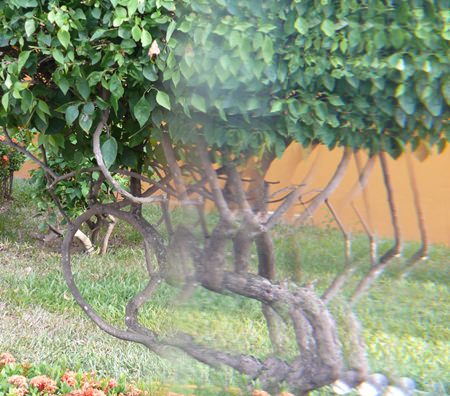 Multiple image with ‘earthquake’ effect.
That may sound a little weird, but it isn’t really. What the camera sees depends upon the lens you are using. The “standard” (50-55 mm) lens gives a field of view coverage approximately the same as the human eye, but the “wide angle” lenses (24 mm and 28 mm, are the common ones) give a distorted viewpoint compared to that seen by you. Likewise, the “long” lenses give a very narrow viewpoint compared to what you see with your own eyes.
This is probably one of the best arguments for the use of SLR cameras, because when you look through the viewfinder, you are actually looking through the lens that is screwed on the front of the camera. The compact cameras where you are not looking through the camera’s lens means no WYSIWYG.


