Before we begin, please note it is the Leaning Tower of Pisa, not the Leaning Tower of Pizza. Big difference!
Even for those people who do not work in real estate there will come a time when you want to photograph your house. We have all taken snaps of our houses from time to time. Your own new house, “special” noteworthy houses or even stately homes seen on vacation, and of course, there is the one to go in the real estate sales magazine, where you want your house to really stand out. Unfortunately, the photograph is many times not representative of the way you saw the house in your recollection.
The commonest problem and one that you will see everywhere is what I call the “Falling Over Backwards” look. The next most common problem is the “House Falling Over Sideways”. The former is relatively easy to fix, the latter is not.
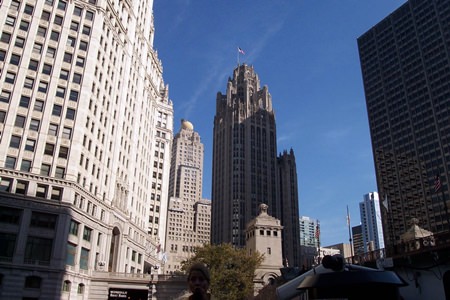
What happens when you try to get a whole house into the viewfinder, is that you generally use a wide angle lens trying to fit it all in. This is where you come unstuck. The wide angle setting exaggerates the perspective of the house and makes it look as if the house is falling over backwards.
To counteract this is not impossible, but is not easy. The first thing to do is to try to elevate the position you are taking the shot from. The higher up you get, the less the perspective effect shows. In fact, if you have to take a 20 storey building, go across the street and climb to the 10th floor of the one opposite and shoot from there. The half way up point will cancel out the extreme perspective.
If you cannot get an elevated viewpoint, then use the “standard” (50 mm) or even telephoto lenses and step backwards far enough to get the entire house back inside the viewfinder frame. These longer lenses do not exaggerate perspective like the wide angles do.
Now, the falling sideways look is easy to fix as it is simply bad frame-up by the photographer. It is very important to make sure the sides of the house are parallel with the sides of the viewfinder before you pop the shutter. Most people remember to get the horizon parallel with the bottom of the finder, but forget to look at the sides. You have been warned! Failure to check this results in a snapshot where the house looks like it is the victim of acute subsidence and will not attract potential buyers.
Photographing Interiors
If you have already tried photographing interiors you will have found that interiors are not easy, and even the pros will shudder when asked to do some interior shots. The biggest problem is lighting. If the curtains are not drawn there is a source of extreme brightness in the picture coming through the window. This localized bright light source will generally confuse the auto exposure in the camera and you will either get a “normal” window with very dark foreground, or a completely white “blown out” window with “fogging” of the picture.
The first action you must do to get over this is to draw some light drapes across the windows to cut down the brightness from there.
The other way but more difficult, is to set the camera’s exposure readings for the view from the window, then fill in the rest of the room with electronic flash or tungsten if you want a ‘warm’ feeling interior.
This is done by “balancing” the flash output, and if you bounce the flash off the ceiling you will get a very natural, bright and airy look to the interior shots.
Of course, once again you have to be aware of the exaggerated perspective from using wide angle lenses and make sure the camera is held straight, and shoot from around the mid-point between floor and ceiling. Just really concentrate on getting the edges to line up with walls and window frames and you will get a very pleasing result. Neglect this and your pictures will look as if they were taken in a crazy house!
This will take practice. Start this weekend!


